










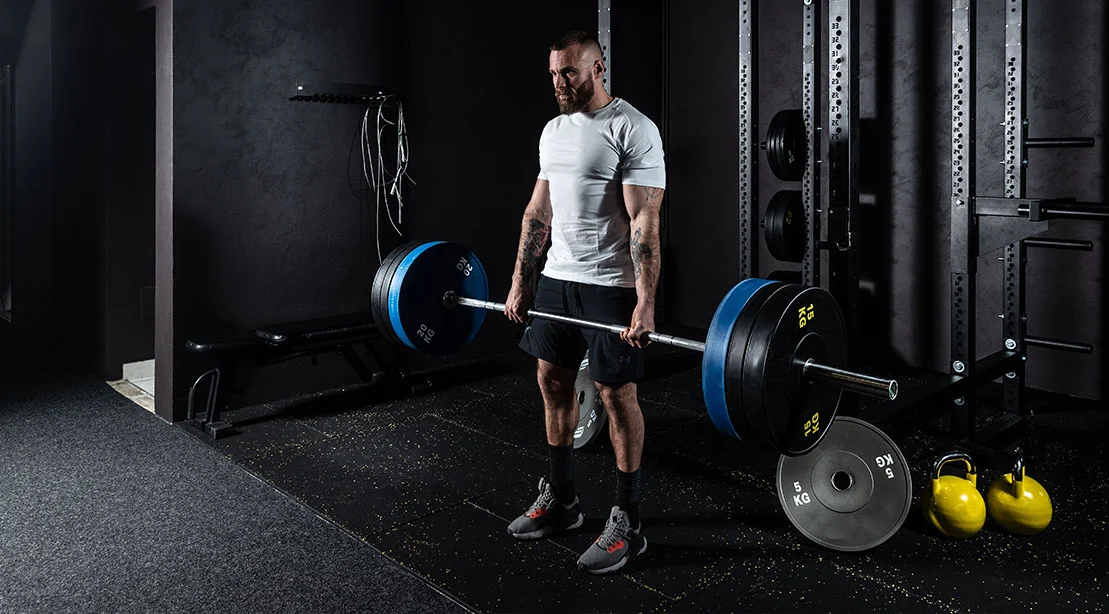
In the world of strength training, the Romanian Deadlift (RDL) is widely regarded as the gold standard for posterior chain development. It is the premier movement for sculpting powerful glutes and resilient hamstrings. However, beneath its deceptively simple appearance lies a complex biomechanical puzzle. Many lifters treat the RDL as a mere exercise in "bending over with a barbell," often sacrificing mechanical efficiency for ego-driven weight. This rushed approach frequently results in a classic training error: the displacement of tension from the intended muscle groups to the lumbar spine.
If your feet aren’t properly anchored, your lats aren’t engaged, or the barbell drifts even an inch away from your quadriceps, you are no longer performing an RDL; you are performing a recipe for lower back fatigue. The reality is that a successful RDL is not defined by the weight on the bar, but by the precision of your setup.
The Anatomy of a Flawless Setup
The RDL is a study in tension management. Before you even contemplate the first repetition, you must construct a rigid, braced, and aligned structure. This pre-lift checklist is not merely a suggestion; it is the fundamental framework required to ensure that your glutes and hamstrings are the primary movers, rather than your lower back muscles. While these steps may initially feel tedious, they are the difference between a mediocre set and a transformative one.
1. Precision Rack Height
The journey to a perfect set begins before your hands touch the knurling. If your rack height is poorly adjusted, you are starting the lift at a deficit. Set your J-hooks at a height that allows you to unrack the barbell with a slight bend in the knees. You should never have to rise onto your toes or perform a partial shrug to clear the bar from the rack. Your goal is to move the bar from the rack to your starting position with zero wasted energy.
- The Cue: "Clear the hooks."
2. The Tripod Foot Stance
Stability starts at the floor. Position your feet at hip-width, with your toes pointed forward or slightly angled outward based on your natural hip anatomy. From there, establish the "tripod foot"—a foundational concept in strength coaching. Ground your heel, the base of your big toe, and the base of your little toe firmly into the floor. By "screwing" your feet into the ground, you activate the external rotators of the hip, creating immediate tension in the outer glutes.
3. Creating the Grip
Your grip is your connection to the load. Using a double-overhand grip, place your hands just outside your thighs. The bar should sit low in your palms, not high near your fingers, to maintain a neutral wrist position. Once the bar is set, do not just hold it—crush it. By squeezing the bar as if you are trying to leave fingerprints in the steel, you initiate a cascade of neural activation that travels up your forearms and into your lats.
4. Knee Softness: The Hinge Anchor
The RDL is a hinge, not a squat. A slight "softening" of the knees is required to allow the pelvis to move backward, but this must be controlled. If your knees continue to bend as the bar descends, you have transitioned into a squat pattern. If they are locked entirely, you limit your range of motion and potentially strain the posterior knee capsule.
- The Expert Rule: "Unlock your knees, then freeze them."
5. Locking in the Lats
The lats are the secret weapon of the deadlift. By pulling your shoulders down away from your ears, you engage your upper back and create a shelf for the barbell. This tension ensures the bar stays glued to your legs. If the bar drifts forward, the lever arm increases, exponentially raising the shear force on your lumbar spine. Always visualize bending the bar around your shins.
6. The 360-Degree Brace
A limp core is a liability. Before initiating the hinge, perform a diaphragmatic breath. Breathe into your belly, sides, and lower back—not just your chest. Create internal pressure that acts as a natural weight belt. Your torso must function as a rigid, pressurized cylinder throughout the entire eccentric and concentric phases of the lift.
7. Cervical Neutrality
The position of your head dictates the position of your spine. While it is common to gaze at your reflection in the mirror, doing so as you descend can force your neck into hyperextension. Conversely, tucking your chin to your chest can cause thoracic rounding. Keep your head in a neutral, long position, allowing your gaze to follow your torso as you hinge.
Common Pitfalls: Why Your RDL Isn’t Working
Even with a solid setup, form degradation is common. The following mistakes are the most frequent culprits behind poor RDL performance.
The "Drift" Effect
As previously noted, the distance between the barbell and your body is inversely proportional to your mechanical advantage. When the bar drifts away, your center of gravity shifts, forcing your lower back to compensate for the lost leverage. The solution is simple: keep the bar in contact with your legs at all times.
"Squatting" the Hinge
If your knee angle changes during the descent, you are losing the stretch reflex of the hamstrings. The RDL is designed to isolate the posterior chain through a pure hip hinge. If you find yourself squatting, focus on pushing your hips backward as if you are trying to touch a wall behind you with your glutes, rather than sitting down.
Rushing the Eccentric
The muscle-building potential of the RDL lies in the lowering phase (the eccentric). By controlling the descent over a three-second count, you maximize the time under tension. Rushing to the bottom of the movement skips the most productive portion of the exercise.
Hyperextending the Lockout
A common error is the "over-correction" at the top of the lift. Many lifters, in an attempt to "feel" the glutes, will drive their hips too far forward and hyperextend their lower back. This does nothing for glute hypertrophy and places unnecessary stress on the spine. Your goal should be to finish in a standing, neutral position where your ribs are stacked directly over your pelvis.
Implications for Training Longevity
The Romanian Deadlift is an investment in your structural integrity. When performed with poor technique, it is an exercise that highlights your weaknesses, often leading to acute lower back pain. However, when performed with the technical rigor outlined above, it is one of the most effective tools for building a bulletproof posterior chain.
By mastering the setup, you are not just improving your aesthetics; you are training your nervous system to prioritize the correct muscle engagement. This "pre-lift" mental rehearsal serves as a critical buffer against injury. In a professional training environment, the RDL is often used as a diagnostic tool—if a lifter cannot maintain a flat back and a steady knee position, the weight is irrelevant.
Conclusion: Own the Hinge
The ultimate goal of the Romanian Deadlift is to create maximal tension in the hamstrings and glutes while maintaining a rigid, safe spine. This begins with the "green light" checklist: feet rooted, lats locked, core braced, and head neutral.
Stop rushing your sets. The time you spend on your setup is not wasted time; it is the foundation of your performance. Once you master the mechanics, the weight will follow, and more importantly, so will the results. By prioritizing technique over ego, you ensure that your posterior chain—the engine of your athletic performance—remains strong, resilient, and capable of handling whatever load you choose to place upon it. The RDL is not just a lift; it is a discipline. Respect the setup, own the hinge, and you will unlock the full potential of your training.