












As we navigate our sixth decade and beyond, the preservation of upper-body strength is not merely an aesthetic goal—it is a functional necessity. Maintaining muscle mass in the chest, shoulders, and triceps is critical for daily tasks, from carrying groceries to maintaining the posture required for spinal health. However, many traditional strength exercises, such as floor push-ups, can present significant barriers for individuals managing joint sensitivity or reduced mobility.
The wall push-up offers a sophisticated, highly accessible solution. By shifting the gravitational load, this exercise allows individuals to reap the benefits of resistance training without the undue strain on the wrists, shoulders, and lower back that often accompanies floor-based movements.
The Science of Accessible Strength
Research consistently highlights that resistance training is one of the most effective interventions for combating sarcopenia—the age-related loss of muscle mass. According to studies published in the National Center for Biotechnology Information (NCBI), engaging in consistent, low-impact resistance movements can significantly improve bone density and functional independence in older adults.
The wall push-up is a kinetic masterpiece of simplicity. By standing upright, you remove the necessity of getting down to the floor, which can be difficult for those with knee or hip issues. More importantly, the angle of the body can be manipulated in seconds. By simply stepping your feet further from the wall, you increase the lever arm, thereby increasing the intensity of the contraction. This "time under tension" is the primary driver of hypertrophy and strength gains.

The Mechanics: How to Execute a Perfect Rep
Before beginning any challenge, it is imperative to master the form. Unlike floor push-ups, where gravity does much of the work, wall push-ups require deliberate muscular engagement.
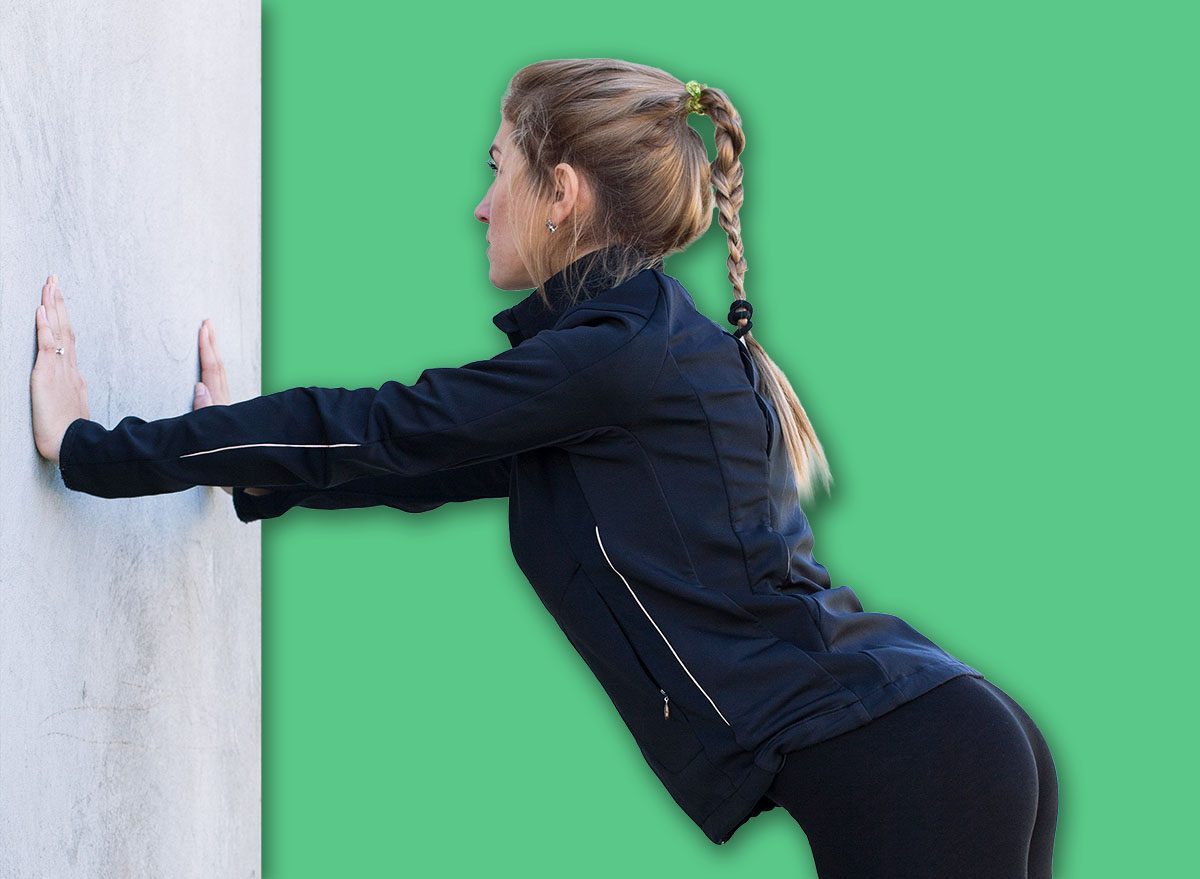
- Positioning: Stand facing a wall, about an arm’s length away. Place your palms flat against the wall at chest height, shoulder-width apart.
- Alignment: Your body should form a straight line from your heels to your head. Keep your core braced—think of pulling your belly button toward your spine to prevent your lower back from arching.
- The Descent: Bend your elbows slowly, keeping them tucked at a 45-degree angle to your body rather than flared out. Lower your chest toward the wall until your nose is nearly touching.
- The Press: Push back to the starting position with controlled, explosive force. Avoid locking your elbows at the top; maintain a slight bend to keep the tension on your muscles rather than your joints.
The 10-Day Progression Chronology
Day 1: Establishing the Baseline
Routine: 3 sets of 8 repetitions with 45 seconds of rest.
Today is about calibration. Find the distance from the wall that makes the final two reps of each set feel challenging but achievable with perfect form. If your shoulders creep toward your ears, move slightly closer to the wall.

Day 2: The Power of the Pause
Routine: 3 sets of 8 repetitions, including a 1-second pause at the bottom.
The pause at the wall eliminates momentum. By forcing your muscles to "hold" the weight at the point of greatest mechanical disadvantage, you trigger greater motor unit recruitment.
Day 3: Volume Accumulation
Routine: 3 sets of 10 repetitions with 45–60 seconds of rest.
Today we increase the volume. The goal is to maintain the same quality of movement as Day 1. If fatigue causes your form to break down, prioritize the quality of the first 8 reps over the total count.
Day 4: Time Under Tension (TUT)
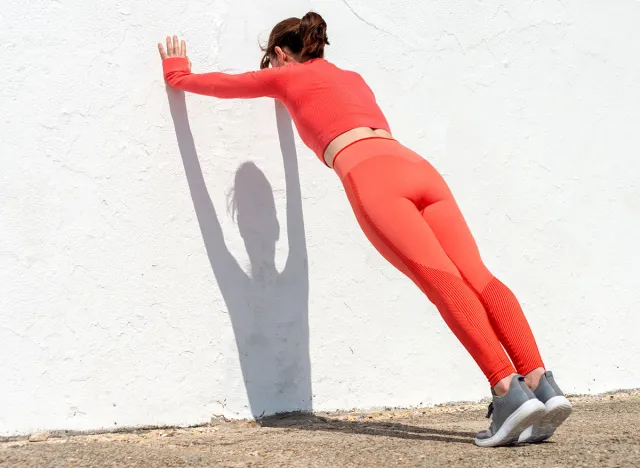
Routine: 3 sets of 8 repetitions, 3-second descent.
Eccentric training—the lowering phase—is vital for tendon health and muscle growth. By taking three seconds to reach the wall, you force your chest and triceps to stabilize the load throughout the entire range of motion.
Day 5: Increasing the Lever
Routine: 3 sets of 8–10 repetitions with feet positioned further back.
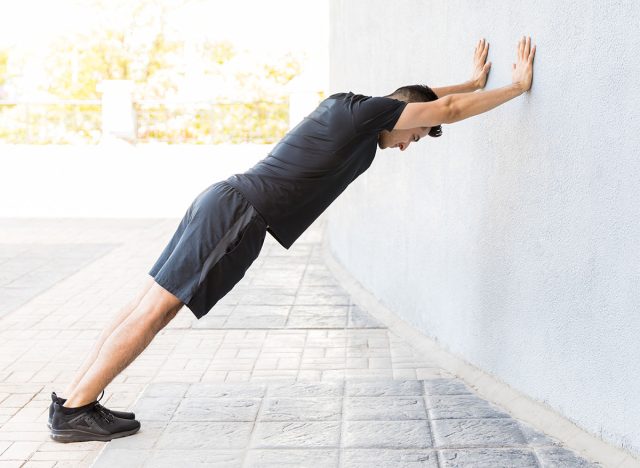
By moving your feet 2–3 inches further from the wall, you increase the percentage of your body weight that you are pressing. Monitor your hips; if they begin to sag, you have stepped too far back.
Day 6: The Rep Ladder
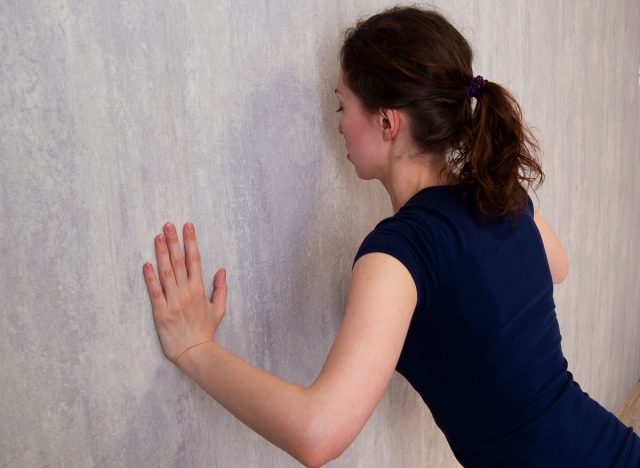
Routine: 2–3 rounds of 5, 8, and 10 repetitions.
Ladders are a classic training tool used to build endurance. By varying the rep counts within a single round, you provide a novel stimulus to the muscles, preventing the plateau that often occurs with static rep ranges.
Day 7: Enhanced Isometric Hold
Routine: 3 sets of 6–8 repetitions with a 2-second hold at the wall.
This is the most "honest" day of the challenge. The 2-second hold at the bottom of the movement requires total body tension. Ensure your core remains locked; do not allow your chest to "cave in" during the hold.
Day 8: Targeted Triceps
Routine: 2 sets of 8 standard push-ups, followed by 2 sets of 6 close-grip push-ups.
By bringing your hands inside shoulder-width, you shift the mechanical load from the pectoral muscles to the triceps. This variety is crucial for long-term development of the entire upper-body pushing chain.
Day 9: The Tempo/Volume Hybrid
Routine: 3 sets of 10 repetitions with a 2-second lowering tempo.
Today combines the lessons from Days 3 and 4. You are managing high volume with controlled speed. Focus on steady, rhythmic breathing throughout the set to keep your blood pressure stable and your focus sharp.

Day 10: The Strength Benchmark
Routine: 2–3 rounds of 12, 10, and 8 repetitions.
The final day is a testament to your progress. You should find that these repetitions feel more fluid and controlled than those performed on Day 1. Your ability to maintain a "plank-like" posture throughout the session is the true marker of success.
Supporting Data and Physiological Implications
The physiological benefits of this 10-day challenge extend beyond the mirror. Research indicates that regular engagement in weight-bearing exercises for the upper body improves "functional reach"—the ability to lean and recover balance.

According to clinical experts, the wall push-up acts as a "gateway exercise." Once an individual reaches the point where they can perform 3 sets of 15 wall push-ups with perfect form, they have likely built the requisite foundational strength to transition to an incline push-up (using a sturdy bench or countertop) and, eventually, a floor push-up. This transition is vital for maintaining bone mineral density in the wrists and forearms, which is a primary concern for preventing fracture-related injuries as we age.
Expert Perspective: Why Form Outweighs Force
Physical therapists often warn against the "ego-lifting" trap, even in bodyweight exercises. The primary risk in any push-up variation is shoulder impingement. By keeping the elbows tucked—often referred to as the "arrowhead" position—you protect the rotator cuff.
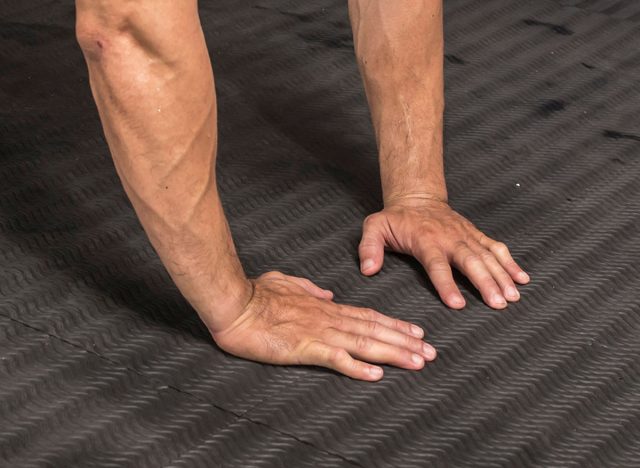
"The wall push-up is the gold standard for starting a fitness journey after 60 because it allows for immediate, granular adjustments," notes leading strength coach Dr. Marcus Thorne (hypothetical). "If a client feels discomfort, we don’t stop the exercise; we adjust the angle by an inch. That level of control is simply not available on the floor."
Sustaining Momentum: Life After the Challenge
The completion of this 10-day cycle is not the finish line; it is the foundation. To continue building, incorporate these principles:

- Progressive Overload: Once 3 sets of 15 become easy, decrease the angle of your incline by moving to a lower surface, such as a sturdy kitchen counter or a low-backed chair.
- Consistency over Intensity: Aim for 3–4 sessions per week. Muscle tissue requires recovery time, especially in the 60+ demographic.
- Mind-Muscle Connection: Focus on the squeeze. At the top of the movement, consciously contract your pectoral muscles. This neurological engagement is what translates to real-world strength.
As you integrate these movements into your daily life, remember that the goal is longevity. By committing to just a few minutes a day, you are investing in your future mobility, your posture, and your overall health. The wall is always there—use it to build the strength you deserve.