










There is perhaps no dish more synonymous with the transition from the golden hues of autumn to the biting chill of winter than a simmering pot of chili. While the base of the dish—tomatoes, beans, peppers, and an aromatic blend of spices—provides the soul, the choice of protein dictates the body, texture, and overall depth of the meal.
While home cooks often default to the convenience of standard ground beef, professional butchers argue that the secret to a restaurant-quality, soul-warming chili lies in the specific cut of meat selected. To help home chefs navigate the meat counter, we consulted Ray Rastelli Jr., a master butcher and the president and co-founder of Rastelli Foods Group. According to Rastelli, the difference between a "good" chili and a "legendary" one is entirely dependent on the balance of fat, connective tissue, and muscle fiber.
In this comprehensive guide, we explore the four essential cuts of beef that can transform your next batch of chili from a simple weeknight staple into a culinary masterpiece.
The Fundamentals of Chili Chemistry
Before diving into specific cuts, it is essential to understand the science behind the simmer. Chili is, by definition, a braised dish. Because it requires long, slow cooking, the meat must be able to withstand extended exposure to heat without turning into sawdust.
The primary components that matter in a chili-ready cut are fat content and collagen. Collagen, a protein found in connective tissue, is the "holy grail" of slow-cooking. When exposed to moist heat over several hours, collagen breaks down into gelatin. This process does two things: it renders the meat fork-tender and provides the broth with a luxurious, silky mouthfeel that cannot be replicated by lean meat alone.

1. Ground Chuck: The Balanced Foundation
For those who prefer a traditional, uniform texture, ground chuck remains the gold standard. Unlike standard ground beef, which may be derived from a variety of trimmings, ground chuck comes specifically from the shoulder area of the cow.
Why it Works
Ground chuck typically maintains an 80/20 lean-to-fat ratio. This specific proportion is crucial; the fat acts as a flavor carrier, ensuring that the spices—cumin, chili powder, and smoked paprika—permeate the entire pot.
"Ground chuck is my first choice for classic chili because it has enough fat to develop incredible beef flavor without becoming greasy," explains Rastelli Jr. "Brown it well before adding your spices and liquid; that caramelization creates the rich foundation every great chili needs."
Preparation Strategy
The key to success with ground chuck is the "hard sear." Home cooks often rush the browning process, leading to steamed meat rather than caramelized meat. By allowing the ground chuck to sit undisturbed in a hot Dutch oven until a deep, mahogany-colored crust forms, you unlock the Maillard reaction, which is essential for developing a complex flavor profile.
2. Chuck Roast: The Texas-Style Standard
If you are aiming for a "Texas-style" or "chili con carne" experience, where the beef is the star of the show, ground meat simply won’t suffice. This is where the chuck roast enters the conversation.

The Anatomy of the Cut
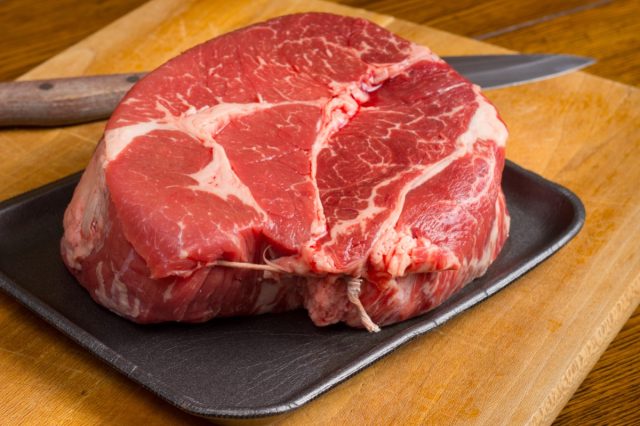
The chuck roast is a hard-working muscle located near the neck and shoulder. Because it is used for locomotion, it is densely packed with connective tissue. While this makes it tough in a quick-cooking environment, it is the perfect candidate for a four-to-six-hour simmer.
"If you like a chunky Texas-style chili, buy a chuck roast and cube it yourself," says Rastelli Jr. "Chuck has plenty of connective tissue that slowly breaks down during cooking, giving you tender bites of beef and incredible depth of flavor."
The Chronology of the Simmer
To prepare this cut, start by trimming the excess surface fat and cutting the roast into uniform one-inch cubes. Sear the cubes in batches to avoid crowding the pan. Once the liquid is added, the transformation takes time. The first two hours will leave the meat feeling firm; however, as you approach the third hour of simmering, you will notice the meat beginning to yield. By the fourth hour, the connective tissue has fully dissolved into the sauce, creating a rich, velvety consistency.
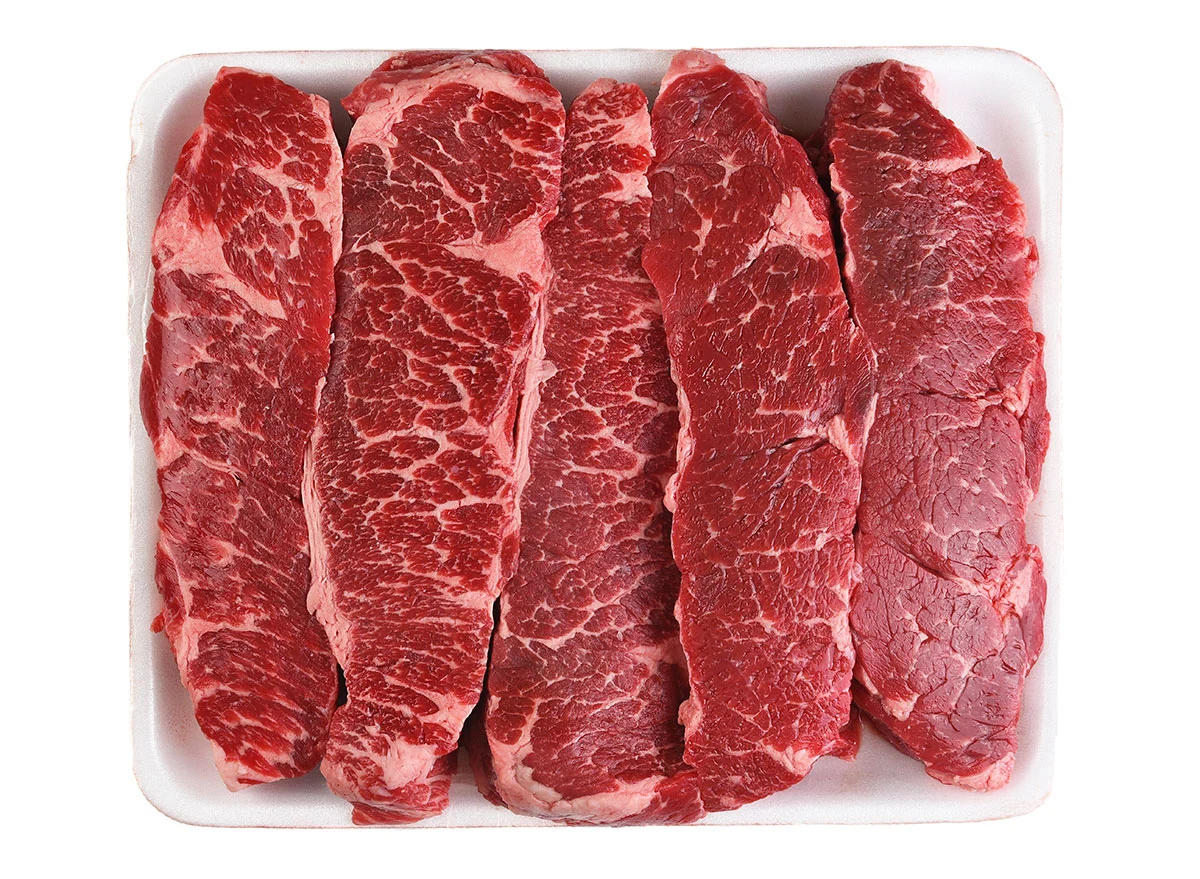
3. Boneless Short Ribs: The Gourmet Upgrade
For those looking to impress guests at a game-day gathering or a holiday dinner, boneless short ribs offer a level of decadence that is unmatched by more common cuts.
The Marbling Factor
Short ribs are prized for their intense marbling—the intricate web of intramuscular fat that runs throughout the muscle. When these ribs are braised, that fat renders into the chili, creating a heavy, robust broth that coats the palate.
"Boneless short ribs make an outstanding chili because the marbling slowly melts into the sauce as it cooks," Rastelli Jr. notes. "It’s a great option when you’re making chili for game day or entertaining and want something that’s extra rich and beefy."
Flavor Implications
Because of their high fat content, short ribs result in a much darker, thicker chili. If you choose this route, consider pairing the dish with acidic accompaniments—such as pickled red onions, a dollop of sour cream, or a squeeze of fresh lime—to cut through the richness of the beef.
4. Brisket: The Bold Choice
Brisket is the undisputed heavyweight champion of the barbecue world, but its application in chili is often overlooked by home cooks. Whether you are using a raw brisket or repurposing leftovers from a weekend smoker session, this cut provides a depth of flavor that is truly unique.
The "Leftover" Strategy
If you have smoked brisket left over from a backyard barbecue, you have already done 90% of the work. The smoke-infused bark of the brisket adds a natural, wood-fired complexity to the chili that no amount of liquid smoke can replicate.
Starting Fresh
If you are starting with a raw packer brisket, the process requires patience. "Brisket brings incredible beef flavor to chili," says Rastelli Jr. "If you’re starting fresh, just give it plenty of time to cook low and slow. Premium-quality brisket, whether from your neighborhood butcher or local grocery store, will reward you with rich, tender bites throughout the pot."

Comparative Data: Which Cut Suits Your Needs?
| Cut | Best Texture | Fat Content | Primary Advantage |
|---|---|---|---|
| Ground Chuck | Smooth/Classic | Moderate (20%) | Ease of prep, classic flavor |
| Chuck Roast | Chunky/Tender | Low to Moderate | Best for "Texas-style" chunks |
| Short Ribs | Silky/Rich | High | Unmatched depth of flavor |
| Brisket | Shredded/Bold | Moderate | Best for smoky, complex notes |
Expert Tips for Final Assembly
Regardless of the cut you choose, Rastelli Jr. emphasizes that the preparation of the aromatics is just as important as the meat. To maximize the potential of these premium cuts, follow these professional guidelines:
- Bloom Your Spices: Never throw dry spices directly into a watery base. Add your chili powder, cumin, and coriander to the fat rendered from the beef during the browning stage. This "blooms" the oils in the spices, exponentially increasing their potency.
- The Deglazing Step: After browning your meat, use a splash of beef stock, beer, or red wine to scrape up the "fond" (the browned bits stuck to the bottom of the pot). This is pure, concentrated flavor that forms the foundation of your gravy.
- Temperature Control: Chili should never boil. A violent boil will toughen the proteins. Keep your heat at a low, gentle simmer—just enough to keep the liquid moving, but not enough to break apart the structure of the meat prematurely.
Conclusion: Crafting the Perfect Pot
The evolution of chili from a humble "cowboy stew" to a sophisticated culinary dish is largely defined by the quality of the ingredients we select. By moving beyond the standard pre-packaged ground beef and opting for cuts like chuck roast or boneless short ribs, you are not just making dinner; you are engaging in the art of slow-cooking.
Whether you prefer the familiar comfort of ground chuck or the deep, smoky complexity of brisket, the key remains the same: treat your meat with patience, prioritize the browning process, and allow the flavors to meld over time. This season, as the temperatures drop, let your kitchen be the laboratory for your next great chili experiment. With the right cut in hand, you are well on your way to creating a pot that will be the highlight of your winter menu.