


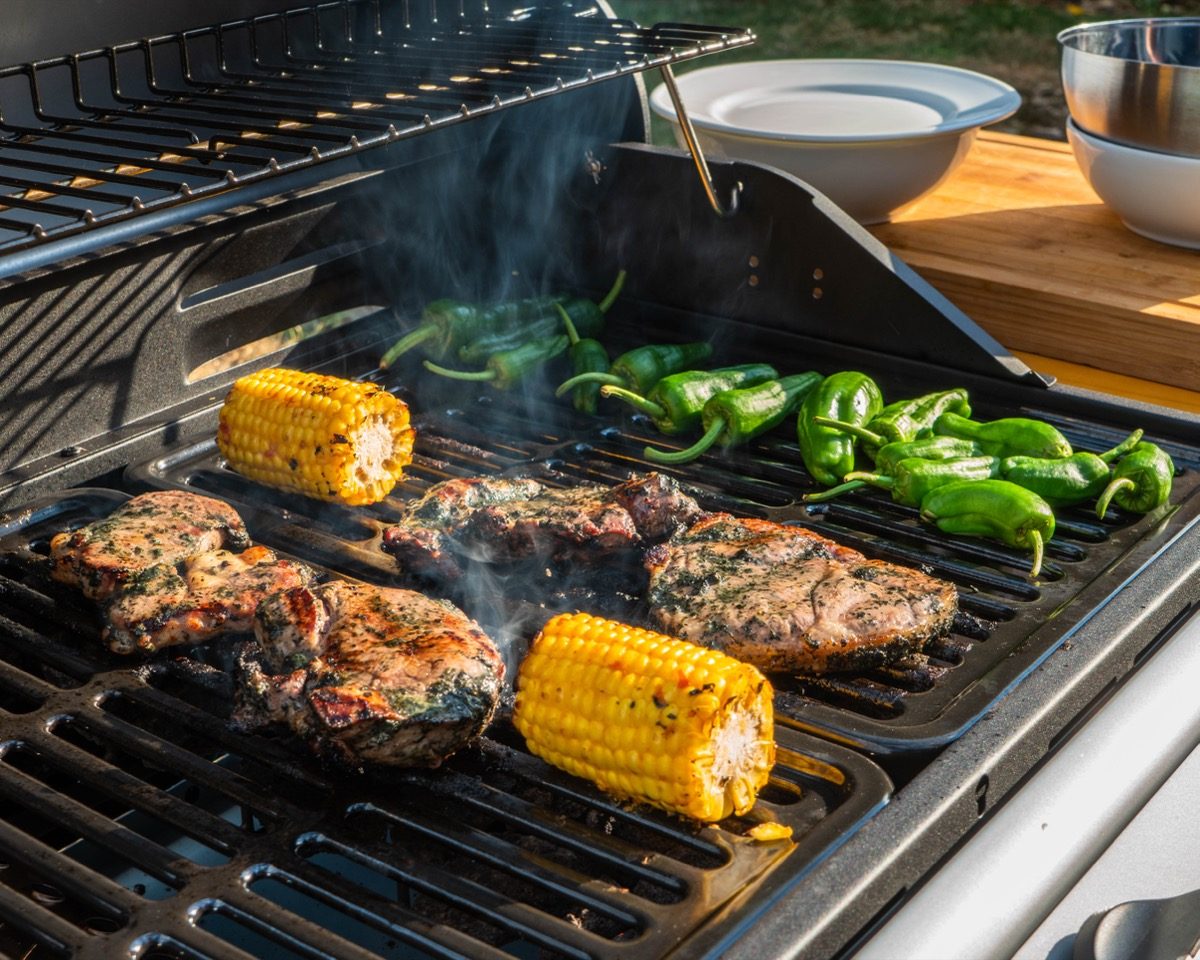
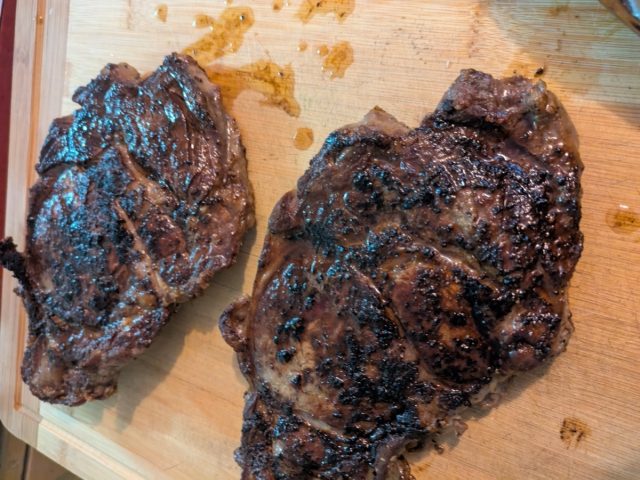
Nothing defines the American summer quite like the primal, sensory experience of a perfectly grilled steak. The scent of wood smoke, the aggressive hiss of meat hitting a hot grate, and that first bite of a tender, crusty, medium-rare ribeye—it is the pinnacle of seasonal outdoor dining. However, bridging the gap between a "good" backyard cookout and a restaurant-quality steak requires more than just high-quality beef and a scorching fire.
Achieving the elusive trifecta of a deep, caramelized crust, a tender interior, and a complex flavor profile is a science rooted in heat management, moisture control, and precise timing. To help you master the grill this season, we consulted a panel of elite chefs and culinary experts to break down the essential techniques that transform a standard piece of protein into a masterpiece.
The Foundation: Why Quality and Selection Matter
The journey to a perfect steak begins long before the charcoal is lit or the propane is ignited. According to Ashley Lonsdale, the chef-in-residence at ButcherBox, the most common mistake home cooks make is overlooking the quality of the raw ingredient.
"Because a grilled steak doesn’t need much more than salt and pepper to really sing, it’s essential to start with high-quality meat," Lonsdale explains. "I always recommend sourcing grass-fed beef from a reputable supplier. It provides a baseline of excellent flavor that simply cannot be replicated by mass-market options."
However, Lonsdale warns that professional-grade beef behaves differently under pressure. "It’s important to note that grass-fed beef has a different fat structure and often cooks faster than conventional, grain-finished beef. If you are accustomed to standard supermarket cuts, you should aim to lower your target internal temperatures by five to 10 degrees to avoid overcooking."
The Visual Indicators of Quality
When standing at the butcher counter, how can the average shopper discern quality? Chef Christopher Robert, Corporate Chef of Queen Miami Beach, suggests looking for three distinct physical markers:
- Marbling: Look for consistent, fine white veins of intramuscular fat. This fat is the primary vehicle for flavor and moisture during the high-heat cooking process.
- Color: The meat should be a deep, vibrant red. Avoid cuts that look dull, grey, or brown, as these are indicators of oxidation and age.
- Surface Texture: The meat should appear "dry" to the touch. If the steak is sitting in a pool of liquid or looks "wet" and slimy, it suggests improper handling or that the cell structures have been damaged by poor cold-chain management.
The Chronology of the Cook: From Fridge to Flame
The "how-to" of grilling is often clouded by outdated folklore. For years, home cooks were told to "only flip once," a rule that chefs now consider a major hindrance to culinary success.
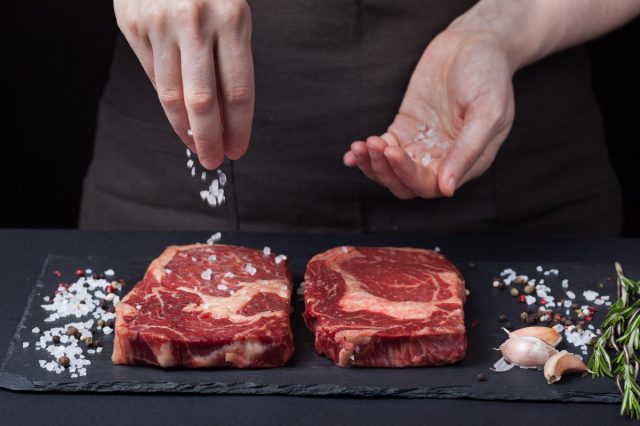
The Prep: Dry-Brining and Tempering
Preparation is where the battle is won. Chef Lonsdale is a strong proponent of the "dry-brine" technique. By salting your steak ahead of time and allowing it to sit in the refrigerator—ideally on a wire rack—you allow the salt to penetrate the muscle fibers and draw out excess surface moisture. "If you don’t have at least 45 minutes to let it sit, salting just before grilling is acceptable," Lonsdale notes. "But for the best results, you can salt your steaks up to 24 hours in advance."
Equally critical is tempering. Chef Christopher emphasizes that throwing a cold steak onto a hot grill is a recipe for disaster. "Cooking a steak straight from the fridge is a fundamental error of temperature control," he explains. "Pull your steak out 30 to 45 minutes before cooking to let it approach room temperature. And always pat it bone-dry with paper towels. Moisture is the enemy of a good crust; if the surface is wet, the heat will be used to evaporate water rather than create that beautiful, savory sear."
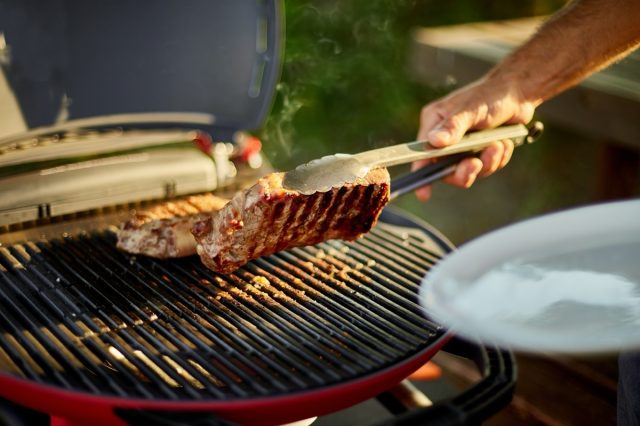
The Flip: Why Frequency is Your Friend
The myth of the "single-flip" is officially debunked by Jorge Thomas, founder of Swaledale Butchers. "I turn my steaks regularly throughout the process," Thomas states. "When you flip often, you actually achieve a more even crust and a more uniform internal temperature. It gives the cook significantly more control over the progression of the sear."
Advanced Techniques: The Reverse Sear
For those seeking total control over the doneness of a thick-cut steak, the reverse sear has become the industry gold standard. John Pannell, Senior Culinary Innovation Specialist at recteq, explains why this method is superior for thicker cuts like filets or bone-in ribeyes.
"The reverse sear allows you to build both smoke and crust in a controlled environment," says Pannell. "You start by smoking the steak at a low temperature until it reaches your desired internal temp. Only then do you move it to a high-heat sear. This method infuses the meat with a subtle smoke flavor while ensuring the center is perfectly cooked from edge to edge without the dreaded ‘grey band’ of overcooked meat that often happens with traditional grilling."
Enhancing Flavor: Marinades and Finishing
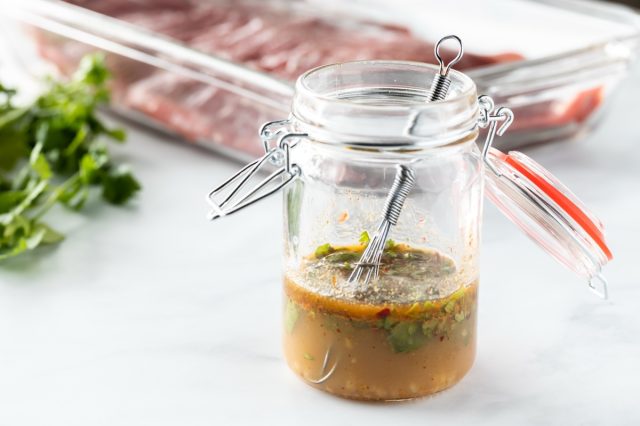
While a great steak needs little more than salt, strategic seasoning can elevate more affordable cuts. Dagan Lynn, executive chef with Beef. It’s What’s For Dinner, suggests that acidity is the secret weapon for tougher cuts like bottom round.
"For more affordable, tougher cuts, I recommend a marinade of red wine vinegar, olive oil, minced garlic, thyme, and red pepper," Lynn says. "The acid helps break down the muscle fibers, resulting in a more tender bite. You should allow these cuts to marinate for anywhere from 6 to 24 hours."
For more delicate, premium cuts, Lynn suggests a dry rub. "Use warm spices like cumin, coriander, and allspice to enhance the natural depth of the beef. These rubs only need about two hours to work their magic."
The Grand Finale: Butter Basting
Even after the steak leaves the grill, the work isn’t done. The "finishing touch" is what separates a backyard burger-flipper from a master of the grill. Chef Christopher suggests a classic basting technique.
"Just before serving, melt butter in a pan—or even on a cast iron skillet placed on the grill—with garlic, thyme, and rosemary," he advises. "Baste the steak with this infused butter, ensuring you don’t burn it. The milk solids in the butter will brown, creating a nutty, rich finish that reinforces the crust. Finally, add a pinch of flaky Maldon sea salt for a crunch that wakes up the palate."
Implications: Respecting the Resting Phase
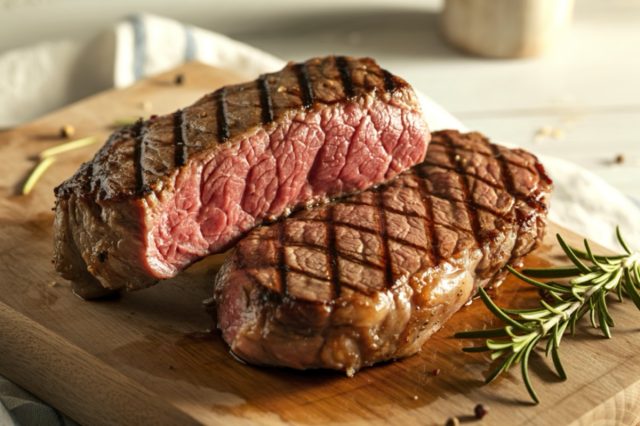
Perhaps the most frequently ignored step is the rest. Regardless of how well you’ve seasoned, seared, or seasoned your meat, slicing into it too early will result in a dry, lackluster experience.
"After cooking, you must let the steak rest for at least five to ten minutes," says Chef Christopher. "This allows the juices, which have been forced into the center of the meat by the heat, to redistribute throughout the muscle fibers. If you slice it too early, those juices simply end up on your cutting board rather than in the meat where they belong."
Summary of Best Practices
To ensure your next cookout is a success, remember these key takeaways:
- Select for Quality: Look for deep red color, consistent marbling, and a dry surface.
- The Power of Salt: Dry-brine your steaks for at least 45 minutes to maximize flavor.
- Temp Management: Bring meat to room temperature before grilling to ensure even cooking.
- Flip Frequently: Ignore the "single-flip" myth; frequent turning creates a better, more uniform crust.
- Master the Rest: Never skip the five-to-ten-minute resting period after pulling the steak from the heat.
By implementing these professional strategies, you move beyond the basics of high-heat cooking and enter the realm of culinary craftsmanship. The difference between a "fine" meal and a memorable one is often found in these small, deliberate steps—turning the grill into a canvas and the steak into a masterpiece.