











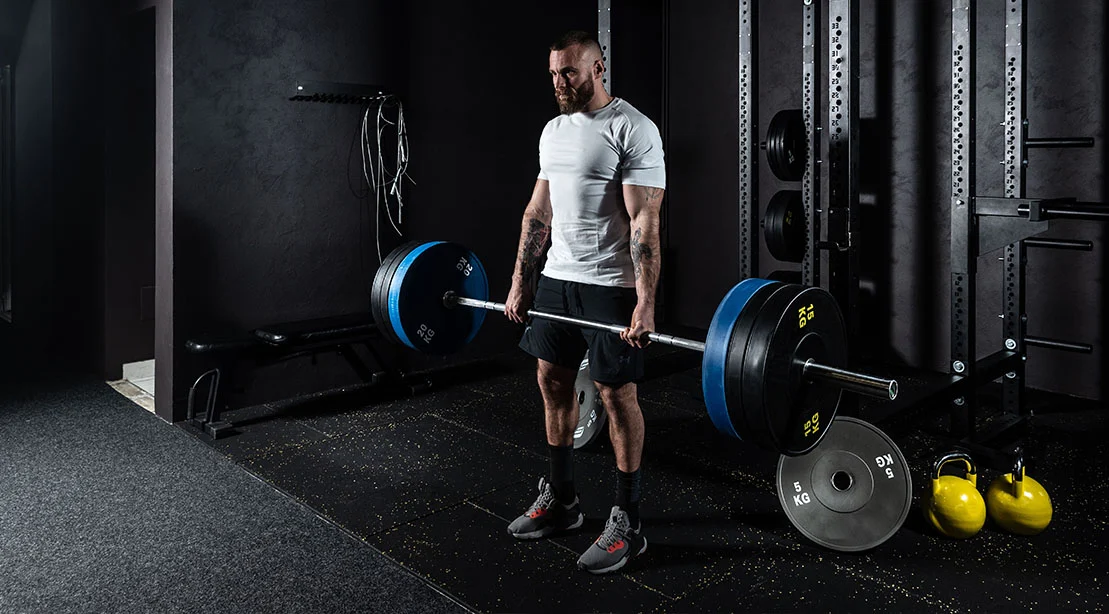
In the world of strength training, few exercises command as much respect—or suffer from as much technical malpractice—as the Romanian Deadlift (RDL). Often dismissed as a mere "bending over" exercise, the RDL is, in reality, a masterclass in tension management and biomechanical precision. For the uninitiated, the lure of heavy iron often results in a rushed setup, leading to compromised form, diminished returns, and, in many cases, acute lower back pain.
The truth is that the RDL is not a lift you perform at the barbell; it is a lift you initiate long before your hands ever touch the knurling. To truly unlock the potential of your hamstrings and glutes, one must treat the setup not as a chore, but as the foundational architecture of the movement itself.
The Anatomy of the RDL: Why Setup Matters
The Romanian Deadlift is an accessory movement designed to target the posterior chain—specifically the hamstrings and glutes—through an eccentric-focused hinge pattern. Unlike the conventional deadlift, which relies on pulling force from the floor, the RDL is a stretch-mediated movement.
If your feet are not "rooted," your lats are not engaged, or your core is not braced, the load will inevitably migrate away from the posterior chain and onto the lumbar spine. This is the primary reason many lifters report lower back fatigue while their hamstrings remain unstimulated. By prioritizing a methodical, seven-step pre-lift checklist, athletes can ensure that their muscles are under constant, controlled tension, turning a mediocre set into a high-octane growth stimulus.
Chronology of a Perfect Setup: The 7-Step Protocol
To master the RDL, you must break the process into distinct, repeatable phases. Over time, these steps will transition from conscious effort to muscle memory.
Step 1: Precision Rack Height
The journey begins at the power rack. Many lifters inadvertently sabotage their set by choosing a J-hook height that forces them to either shrug the bar out or rise onto their toes. Both methods create instability. The ideal height allows you to unrack the barbell with a slight, comfortable bend in the knees, maintaining a neutral spine throughout the transition. The goal is to clear the hooks with minimal movement, preserving energy for the actual repetition.
Step 2: The Tripod Stance and Foot Rooting
Stability starts at the ground. Your stance should be roughly hip-width, with toes pointed forward or slightly angled outward. You are looking to create a "tripod foot"—weight distributed evenly across the heel, the base of the big toe, and the base of the little toe. By "screwing" your feet into the floor, you create external rotation torque at the hips, which immediately activates the glute medius and creates a stable platform for the movement.
Step 3: Optimizing the Grip
Your grip is your connection to the load. A double-overhand grip, with hands placed just outside the thighs, is standard. The bar should sit low in the palm, keeping the wrists neutral. By "crushing" the bar, you create irradiation—a physiological phenomenon where gripping hard increases recruitment in the forearms, triceps, and eventually the lats. If your grip becomes the limiting factor, the use of lifting straps is not only permitted but recommended, as the primary objective is posterior chain development, not forearm endurance.
Step 4: The "Soft Knee" Mechanic
A common point of confusion is how much to bend the knees. A stiff-legged deadlift is too rigid, while too much knee bend turns the movement into a squat. The key is to "soften" the knees at the start and then lock them in that position. Once the hinge begins, the knees should not travel further forward. They act as a hinge point, not a motor for the movement.
Step 5: Engaging the Latissimus Dorsi
The lats are the secret weapon of the RDL. By pulling your shoulders down away from your ears and imagining you are bending the bar around your legs, you lock the barbell into your center of gravity. This prevents the bar from drifting forward, which is the leading cause of unwanted lumbar strain.
Step 6: The 360-Degree Brace
Before you hinge, you must create an internal pressure chamber. Breath should be drawn into the abdomen, sides, and lower back—not just the chest. This "360-degree brace" creates a rigid cylinder of the torso, protecting the spine from shear forces. Maintaining this brace throughout the set is non-negotiable for safety and force production.
Step 7: Neutral Cervical Alignment
Your head position dictates your spine’s alignment. Looking straight ahead into the mirror often leads to hyperextension of the neck as you descend. Conversely, tucking the chin too hard can restrict your ability to breathe. The solution is to let your gaze follow your torso, keeping the neck long and aligned with the rest of the spine.
Supporting Data: The Cost of Improper Form
Biomechanical studies consistently show that as the barbell drifts away from the body’s center of mass, the moment arm on the lumbar spine increases exponentially. Even a two-inch deviation from the legs can double the sheer force applied to the L4/L5 vertebrae.
Furthermore, research into muscle activation via electromyography (EMG) confirms that when the core is properly braced and the lats are engaged, hamstring activation increases by nearly 20% compared to loose, unbraced execution. This data reinforces the necessity of the "Green Light" checklist: if the lats, core, and feet are not properly set, you have not earned the right to begin the descent.
Expert Perspectives and Coaching Insights
Strength coaches widely agree that the RDL is an "ego-trap." Because the movement allows for significant loading, lifters often prioritize the weight on the bar over the quality of the tissue stretch.
"The RDL is a stretch-shortening cycle exercise," says one lead strength and conditioning specialist. "If you rush the eccentric, you’re missing the point. We tell our athletes to count to three on the way down. The goal is to reach the point where you feel a deep, controlled stretch in the hamstrings, then reverse the motion. If you aren’t feeling the hamstrings loading, you’re essentially just doing a weighted bow."
Implications for Long-Term Development
The implications of mastering the RDL are profound. A well-executed RDL builds a thick, powerful posterior chain that carries over into every other lift, from the squat to the conventional deadlift.
Common Pitfalls and Their Corrections:
- The Drift: Caused by loose lats. Fix: Actively pull the bar into your shins.
- The Squatting Hinge: Caused by knee movement. Fix: "Unlock and freeze" the knees before the first inch of movement.
- Rushing the Eccentric: Caused by a desire to "get it over with." Fix: A deliberate, timed 3-second descent.
- The Lumbar Finish: Caused by over-extension. Fix: Focus on driving the hips forward to meet the bar, rather than leaning back to clear it.
Conclusion: The Final Hinge
The Romanian Deadlift is an exercise in discipline. By adopting a rigid, systematic approach to the setup, you transform the exercise from a dangerous, back-straining movement into the most effective tool for building a world-class posterior chain.
Remember the sequence: Set your feet, lock your grip, soften your knees, engage your lats, brace your core, and align your neck. Once these conditions are met, you have the green light. Push your hips back, feel the stretch, and own the movement. When you treat the setup with the same intensity as the lift itself, the results—in terms of both strength and muscle hypertrophy—will follow.