











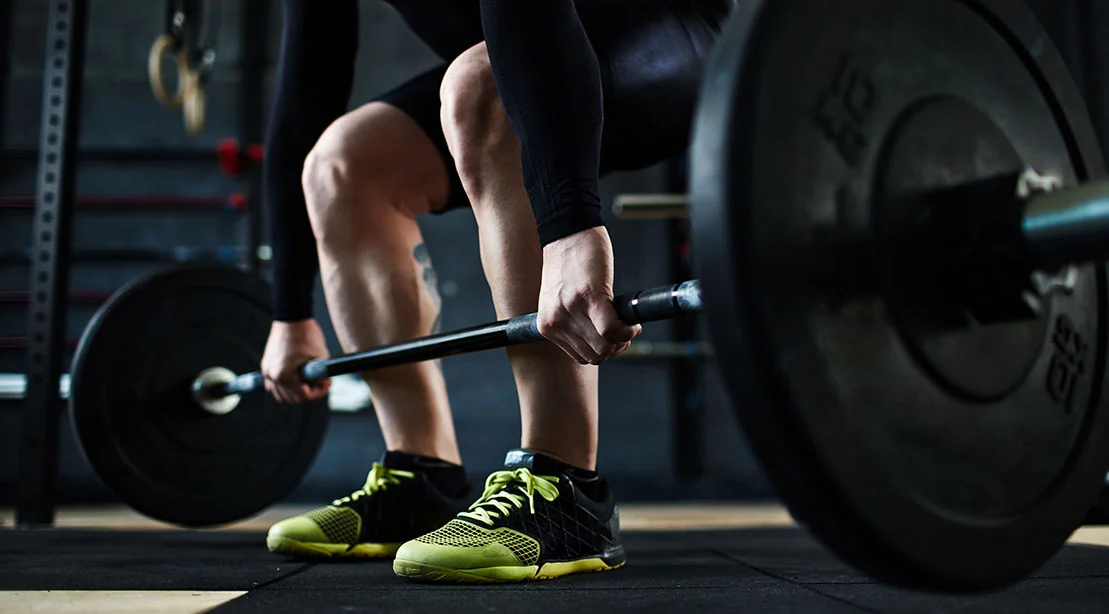
The deadlift is often heralded as the "king of exercises," a primal test of raw strength that recruits almost every major muscle group in the human body. Yet, for many lifters, the journey toward a personal record is derailed long before the barbell leaves the floor. Performance issues in the deadlift rarely stem from a lack of sheer power; rather, they are rooted in the physics and biomechanics of the starting position.
If you struggle to maintain a neutral spine, find your hips rising prematurely, or watch the bar drift away from your shins, you are essentially fighting yourself before the lift has even begun. As renowned strength coach Matt Wenning emphasizes, the deadlift is not merely about pulling weight; it is about creating a rigid, efficient machine through proper setup and tension. To truly maximize your potential, you must learn to "own" the bottom position.
The Anatomy of a Flawed Start: Identifying the Bottlenecks
The bottom of the deadlift is a high-stakes environment. To execute a clean pull, your body requires a specific synchronization of mobility, stability, and proprioception. When any of these components fail, the body defaults to compensatory patterns—most commonly lumbar rounding—which not only limits your force production but significantly increases the risk of injury.
The Biomechanical Requirements
To achieve an optimal setup, your body must possess adequate range of motion in several key areas:
- Hip Flexion: The hips act as the primary hinge. If flexion is restricted, the pelvis cannot tilt effectively to reach the bar, forcing the lower back to round to bridge the gap.
- Hamstring and Adductor Length: These tissues must be supple enough to allow for a deep hinge while remaining under enough tension to act as "springs" for the explosive phase of the lift.
- Ankle Dorsiflexion: While the deadlift is not a squat, the knees must travel forward slightly to bring the shins to the bar. If ankle mobility is restricted, the lifter may struggle to keep their weight centered over the midfoot.
- Thoracic Mobility: A rigid upper back often leads to a collapsed chest. Mobility here is critical for maintaining a neutral spine and keeping the shoulders properly positioned over the bar.
- Lat Engagement: The lats are the primary stabilizers of the spine during a pull. Their activation "locks" the bar against the legs, creating a shorter, more efficient lever arm.
- Core and Pelvic Control: Even with perfect mobility, a lack of intra-abdominal pressure will cause the spine to lose its neutral alignment the moment the bar breaks the floor.
Chronology of a Setup: The Three-Second Test
Before you attempt to fix your mobility, you must first diagnose your current limitations. Load a barbell with a modest weight—a single 45-pound plate on each side is sufficient. Approach the bar with your standard stance, ensuring the bar is positioned directly over your midfoot.
Hinge at the hips, grip the bar, and engage your lats as if you are preparing for a maximum effort pull. Hold this static position for exactly three seconds. During this time, perform a self-assessment: Are your shins vertical or pushing the bar forward? Is your lower back rounded? Do you feel balanced, or are you tipping onto your toes? If you cannot maintain a rock-solid, neutral, and balanced position for these three seconds, you have identified a technical or physical bottleneck that must be addressed before adding more weight to the bar.
Common Setup Pitfalls: Why Your Lift Breaks Down
Often, a lifter’s struggle is not a mobility deficit but a lack of technical awareness. Before embarking on a mobility regimen, ensure your setup isn’t suffering from these classic errors:
1. Squatting the Deadlift
This is perhaps the most common mistake. By dropping the hips too low, the lifter transforms the hinge pattern into a squat pattern. This forces the knees forward, which pushes the barbell away from the midfoot, effectively killing the hamstring tension needed for the pull.
The Fix: Initiate the movement with the hips, not the knees. Think of the movement as a "hinge," where the knees bend only enough to accommodate your anatomy.
2. Excessive Lumbar Rounding
While elite powerlifters may display slight spinal flexion under maximal loads, it is rarely an intentional technique for the intermediate lifter.
The Fix: Use rack pulls or block pulls to shorten the range of motion. This allows you to practice maintaining a neutral spine while still handling heavy weight, gradually increasing the range of motion as your mobility improves.
3. The "High Hip" Syndrome
Conversely, if the hips are too high, the movement becomes a stiff-legged deadlift. This deprives the quads of their ability to contribute to the initial break from the floor.
The Fix: Focus on pulling the chest "up" and through the arms while maintaining a flat back. If your hips are consistently shooting up, your start position is likely too low to begin with.
4. Bar Drift
If the barbell is even an inch or two away from your shins, the leverage required to move it increases exponentially.
The Fix: Focus on "pulling the slack" out of the bar by engaging the lats. Visualize trying to bend the bar around your shins. If the bar is against your legs, you are moving the weight in the most efficient line possible.
Five Mobility Exercises to Reclaim Your Bottom Position
If your assessment revealed a lack of mobility or stability, integrate these five drills into your warm-up routine. These exercises, curated by experts like Matt Wenning, are designed to prime your nervous system and open the joints necessary for a world-class pull.
1. Chair Sumo Deadlift
This drill is a masterclass in pattern correction. By using a chair as a target behind you, you are forced to sit your hips back into the hinge.
- How to: Stand with a wide sumo stance, a chair positioned behind your glutes. Hinge at the hips, reaching for the bar while tapping the chair.
- Why it works: It forces the hips to move backward, reinforcing the hinge pattern while developing the abduction required for a wide stance.
2. Half-Kneeling Hamstring Mobilization With Ankle Rocker
This is a two-in-one efficiency move.
- How to: In a half-kneeling position, straighten the front leg to stretch the hamstring, then shift weight forward to load the ankle.
- Why it works: It simultaneously addresses the two most common "stiff" areas—the posterior chain and the ankle—ensuring you have the requisite length to reach the bar.
3. Goblet Prying Squat
- How to: Hold a kettlebell at your chest and descend into a deep squat. Use your elbows to push the knees outward, gently shifting side to side.
- Why it works: It opens the hips and adductors. By spending time at the bottom, you normalize the position, making it less of a "foreign" environment when you set up for the deadlift.
4. Rockback Breathing With Double-Elbow Reach
- How to: Get into a quadruped position, then rock your hips back toward your heels. Reach your elbows forward on the floor and focus on deep, rhythmic breathing into the upper back.
- Why it works: This reduces excessive resting tension in the lats and lower back, allowing for better ribcage and pelvic positioning.
5. Straight-Arm Band Pulldown Into Deadlift Hold
- How to: Attach a band to a rack. Perform a straight-arm pulldown to engage the lats, then hold that tension as you transition into an RDL.
- Why it works: It teaches the lifter to "turn on" the lats before the heavy weight is ever touched, effectively mimicking the tension required at the bottom of a real deadlift.
Implications for Future Performance
The implications of mastering your setup are significant. A stable, efficient starting position means more force transferred to the bar, less wasted energy, and a drastically lower risk of spinal injury.
As you progress, view these mobility drills not as "extra work," but as essential maintenance for your lifting career. The deadlift is a symphony of muscular coordination; if one instrument is out of tune—whether it be the ankles, the lats, or the hips—the entire performance suffers. By systematically addressing the bottom position, you are not just refining your technique; you are building a foundation that will support heavier weights for years to come. Remember: the deadlift does not start when the bar leaves the floor. It starts the moment you create tension, lock your lats, and prepare to pull. Own that moment, and the weight will follow.